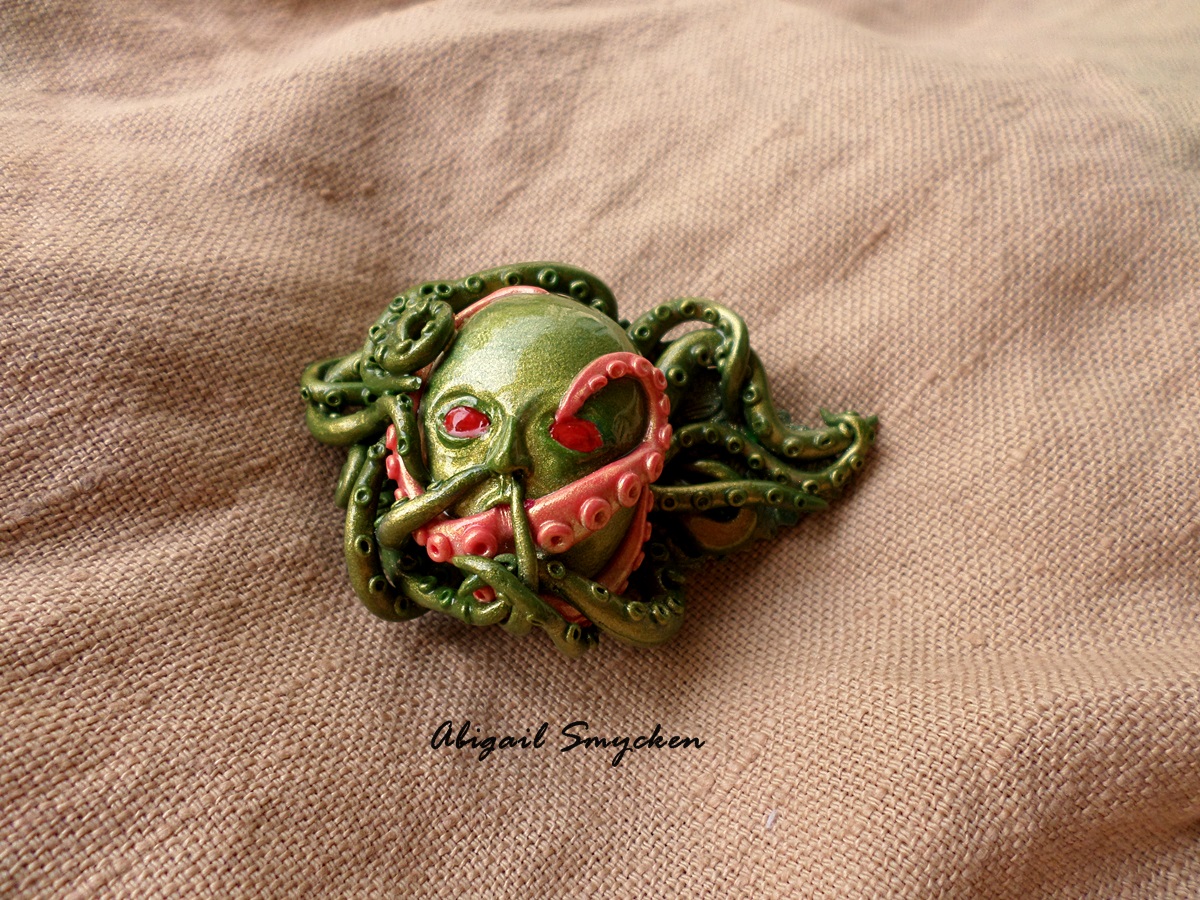
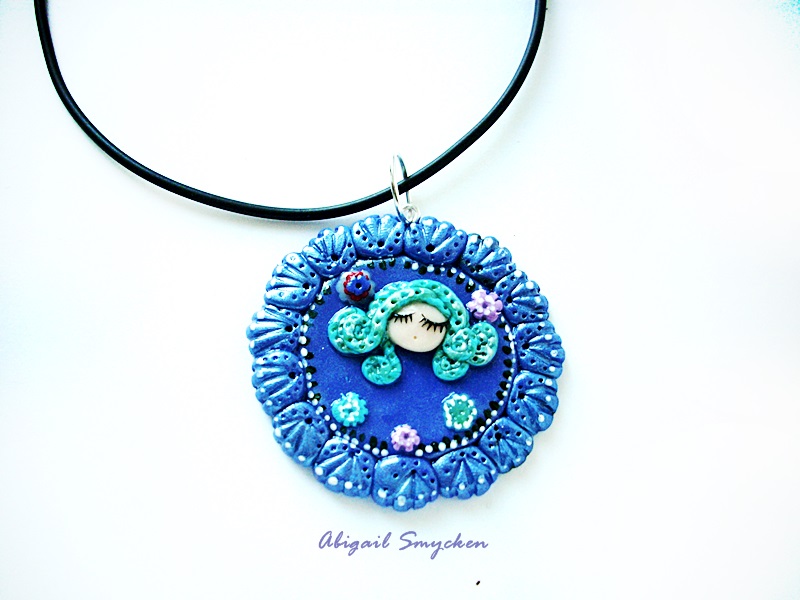
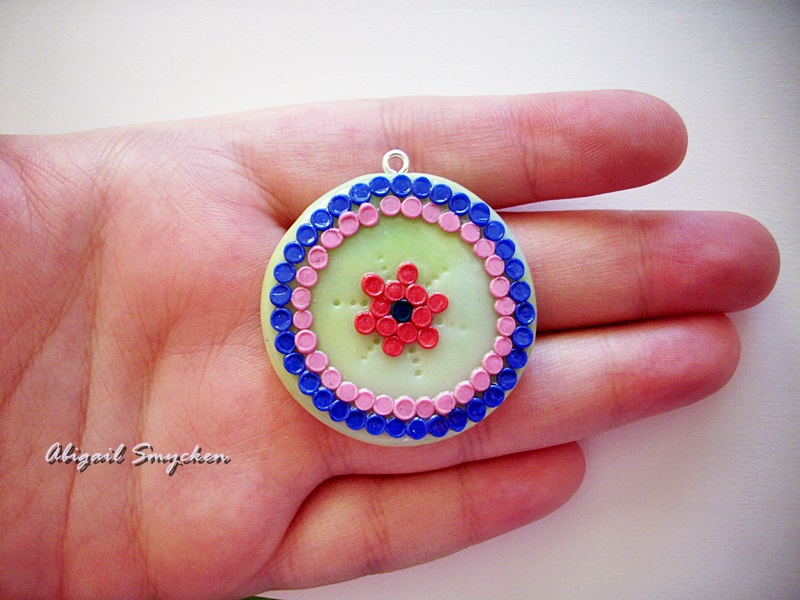
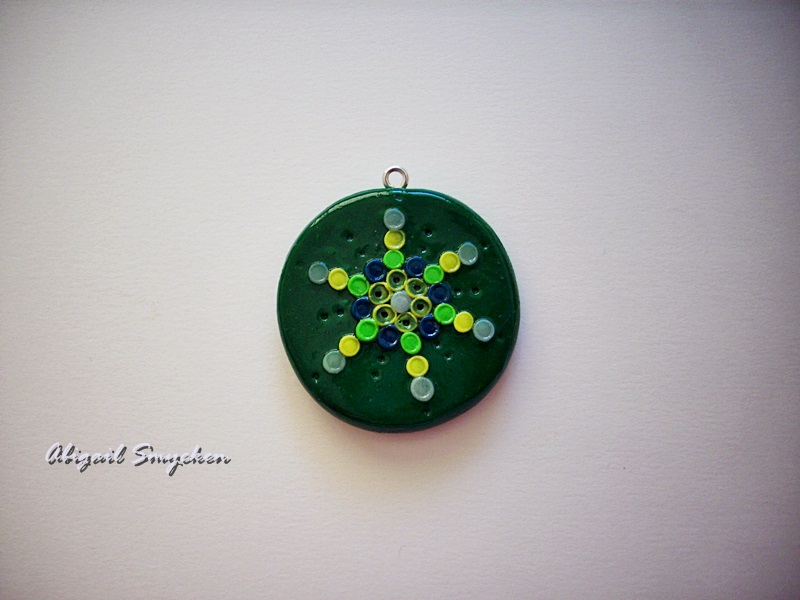
But here's this collection. I has been a darker period in my life so I think it kinda transcends in what I make.
Showing posts with label crafts. Show all posts
Wednesday, September 30, 2015
Anachronism Part 2
Here are some other items from my collection, mostly inspired by nature. However, after I finished this collection I got really inspired by some games I've been playing like Technobabylon, Gemini Rue or, perhaps the first cyberpunk game I played, System Shock. Anyway, along with some Alien-esque themes, I will be adding part of that collection in the future.
But here's this collection. I has been a darker period in my life so I think it kinda transcends in what I make.
Tuesday, January 28, 2014
Monday, July 8, 2013
Tutorial: Recycling Pizza Boxes/ Sa Reciclam O Cutie de Pizza
From time to time I like eating pizza but I don't do it very often because you know...pizza has a lot of calories. However, I'm always left with the boxes and I always thought it was such a waste to just throw all that cardboard away. The idea of making a cardboard box was when I was looking for package sending solutions to my clients. I like sending pretty boxes but I don't want to send them by themselves because they can be flatten and might not be that sturdy, so I needed something that would protect them. There are many companies out there that sell cardboard boxes but they are always too big or too flat for my needs. So I decided to do my own and thought that pizza boxes would be a great idea. So here is how to recycle your pizza box into a sturdy box that you can use to protect your handmade package.
Cui nu-i place pizza? Mai comand si eu din cand in cand, dar totusi nu prea des ca...pizza are multe calorii. Totusi, mereu raman cu cutiile de la pizza si mereu m-am gandit ca mi se pare mare pacat sa le arunc si sa irosesc atata material. Imi place sa trimit in cutii dragute dar nu pot sa le trimit ca atare ca nu mi se par asa rezistente deci voiam sa le pun in ceva care sa le protejeze.Asa ca m-am gandit sa le reciclez. Sunt multe firme care vand cutii pentru colete dar mereu sunt prea mari sau prea subtiri pentru nevoile mele. Asa ca m-am decis sa-mi fac singura cutiile in care trimit pachete recicland alte cutii, printre care si cele de pizza. Urmariti in continuare tutorialul pentru a vedea cum transformati cutiile de pizza in cutii rezistente in care sa puneti lucrurile pe care doriti sa le trimiteti prin posta:
1. You will need a pizza box lid, a stapler, a ruler and a pencil.
2. We take our pizza box lid and cut it in the middle. Make sure that a part of the box is a bit bigger than the other part, that will be the lid of your box.
3. We trim the boxes leaving one of the edges intact and we are left with two pieces:
4. We take the first piece and measure the movable edge. Here I have 4 cm:
5. Using the same measure we mark it on the other non movable edges. I marked 4 cm here and I will also mark it on the other side.
6. We draw a line and unite the two markings to see exactly how much we need to cut
7. We are left with something like this. We make our first cut:
8. We proceed doing the same for all the corners:
9. We fold the corners carefully:
10. We are left with this.
11. With a stapler we begin stapling the corners:
12. And create the lid for our box.
13. The same needs to be done for the other part.
14. And we have created the box:
Happy crafting!
Cui nu-i place pizza? Mai comand si eu din cand in cand, dar totusi nu prea des ca...pizza are multe calorii. Totusi, mereu raman cu cutiile de la pizza si mereu m-am gandit ca mi se pare mare pacat sa le arunc si sa irosesc atata material. Imi place sa trimit in cutii dragute dar nu pot sa le trimit ca atare ca nu mi se par asa rezistente deci voiam sa le pun in ceva care sa le protejeze.Asa ca m-am gandit sa le reciclez. Sunt multe firme care vand cutii pentru colete dar mereu sunt prea mari sau prea subtiri pentru nevoile mele. Asa ca m-am decis sa-mi fac singura cutiile in care trimit pachete recicland alte cutii, printre care si cele de pizza. Urmariti in continuare tutorialul pentru a vedea cum transformati cutiile de pizza in cutii rezistente in care sa puneti lucrurile pe care doriti sa le trimiteti prin posta:
1. You will need a pizza box lid, a stapler, a ruler and a pencil.
2. We take our pizza box lid and cut it in the middle. Make sure that a part of the box is a bit bigger than the other part, that will be the lid of your box.
3. We trim the boxes leaving one of the edges intact and we are left with two pieces:
4. We take the first piece and measure the movable edge. Here I have 4 cm:
5. Using the same measure we mark it on the other non movable edges. I marked 4 cm here and I will also mark it on the other side.
6. We draw a line and unite the two markings to see exactly how much we need to cut
7. We are left with something like this. We make our first cut:
8. We proceed doing the same for all the corners:
9. We fold the corners carefully:
10. We are left with this.
11. With a stapler we begin stapling the corners:
12. And create the lid for our box.
13. The same needs to be done for the other part.
14. And we have created the box:
Happy crafting!
Monday, June 17, 2013
New stuff and following giveaway/ Chestii noi si giveaway-ul viitor
I did some new stuff lately. pics bellow. I promised a giveaway on FB but I was very busy and went to the doctor for checkups a lot last week and I completely forgot about it. However, I do hope that sometime this month I will prepare all the gifts for my followers and start the giveaway.
Am facut niste lucruri noi in ultimul timp. Mai jos sunt si pozele. Stiu ca am promis giveaway pe fb dar am uitat ca am fost la medic toata saptamana trecuta si nu mi-am mai amintit. Sper ca saptamana asta voi face cadourile pentru cei care ma urmaresc si o sa incep giveaway-ul.
Now you can follow me on bloglovin, I use it as an alternative to Google Reader:
Ah si acum puteti sa ma urmariti pe bloglovin, eu il folosesc ca alternativa pentru Google reader:
Follow my blog with Bloglovin
Am facut niste lucruri noi in ultimul timp. Mai jos sunt si pozele. Stiu ca am promis giveaway pe fb dar am uitat ca am fost la medic toata saptamana trecuta si nu mi-am mai amintit. Sper ca saptamana asta voi face cadourile pentru cei care ma urmaresc si o sa incep giveaway-ul.
Now you can follow me on bloglovin, I use it as an alternative to Google Reader:
Ah si acum puteti sa ma urmariti pe bloglovin, eu il folosesc ca alternativa pentru Google reader:
Follow my blog with Bloglovin
Monday, June 3, 2013
Mini Abigails
I made some very small Abigails, they are about 2.5 cm long (0.9 inches). The pictures aren't very good because it was cloudy and my camera is old and bad.
Am facut niste mici Abigail, sunt aproximativ 2.5 cm lungime. Pozele nu-s prea bune deoarece era innorat si aparatul meu foto e vechi si prost.
Sunday, June 2, 2013
New stuff - Lucruri noi
I made some new stuff these days. I am working on a new collection called The Abigail Zodia. I guess you figured out what it features. Besides this, I made a "childish" pendant for Revista Atelierul Challenge. I will simply name it Childhood.
Am facut niste lucruri noi zilele astea. Lucrez la o colectie care se numeste The Abigail Zodiac. Cred ca ati ghicit cu ce este. In afara de asta, am facut un pandantiv "copilaros" pentru provocarea de la Revista Atelierul. O sa-l numesc simplu, Copilarie. Il puteti gasi in magazin pe:
http://www.breslo.ro/Product/Childhood_938330
Am facut niste lucruri noi zilele astea. Lucrez la o colectie care se numeste The Abigail Zodiac. Cred ca ati ghicit cu ce este. In afara de asta, am facut un pandantiv "copilaros" pentru provocarea de la Revista Atelierul. O sa-l numesc simplu, Copilarie. Il puteti gasi in magazin pe:
http://www.breslo.ro/Product/Childhood_938330
Sunday, May 26, 2013
Summer, water, fog, rain and sea / Vara, apa, ceata, ploaie si mare
I was inspired by water in all its forms lately so I made a pendant and a pin that would remind me of that
Am fost inspirata de apa in toate formele ei in ultimul timp asa ca am facut un pndantiv si o brosa care sa-mi aminteasca de asta.
Labels:
albastru,
blue,
brosa,
crafts,
fimo,
handmade jewelry,
inspiration,
personal,
polymer clay,
sea,
summer,
water
Tuesday, May 7, 2013
Last days of spring../ Ultimele zile de primavara...
I made a few more springy pendants that feature blossomed flowers because you really get inspired by the weather outside and escaping out in the nature for a while. The first is called Endless Garden and the second is Continuous Blossom.
Am mai facut cateva pandantive primavaratice cu tot felul de flori deoarece am fost inspirata de vremea de-afara si de cateva escapade in natura. Primul se numeste Endless Garden si al doilea Continuous Blossom.
Thursday, April 25, 2013
Some New Pendants
These are some new pendants, a ring, and hair accessories in the same style I made the previous rings.
Am mai facut noi pandantive, un inel si cateva accesorii de par in acelasi stil ca cele din postul precedent.
Labels:
bronze,
cernit,
crafts,
fimo,
handmade,
inspiration,
jewelry,
pandantive,
pendants,
personal,
polymer clay,
unique
Subscribe to:
Posts (Atom)